I’m excited to share that I’ve just added an Epson XP-25000 to my screen printing…
Why the Tunnel Dryer is a Game Changer
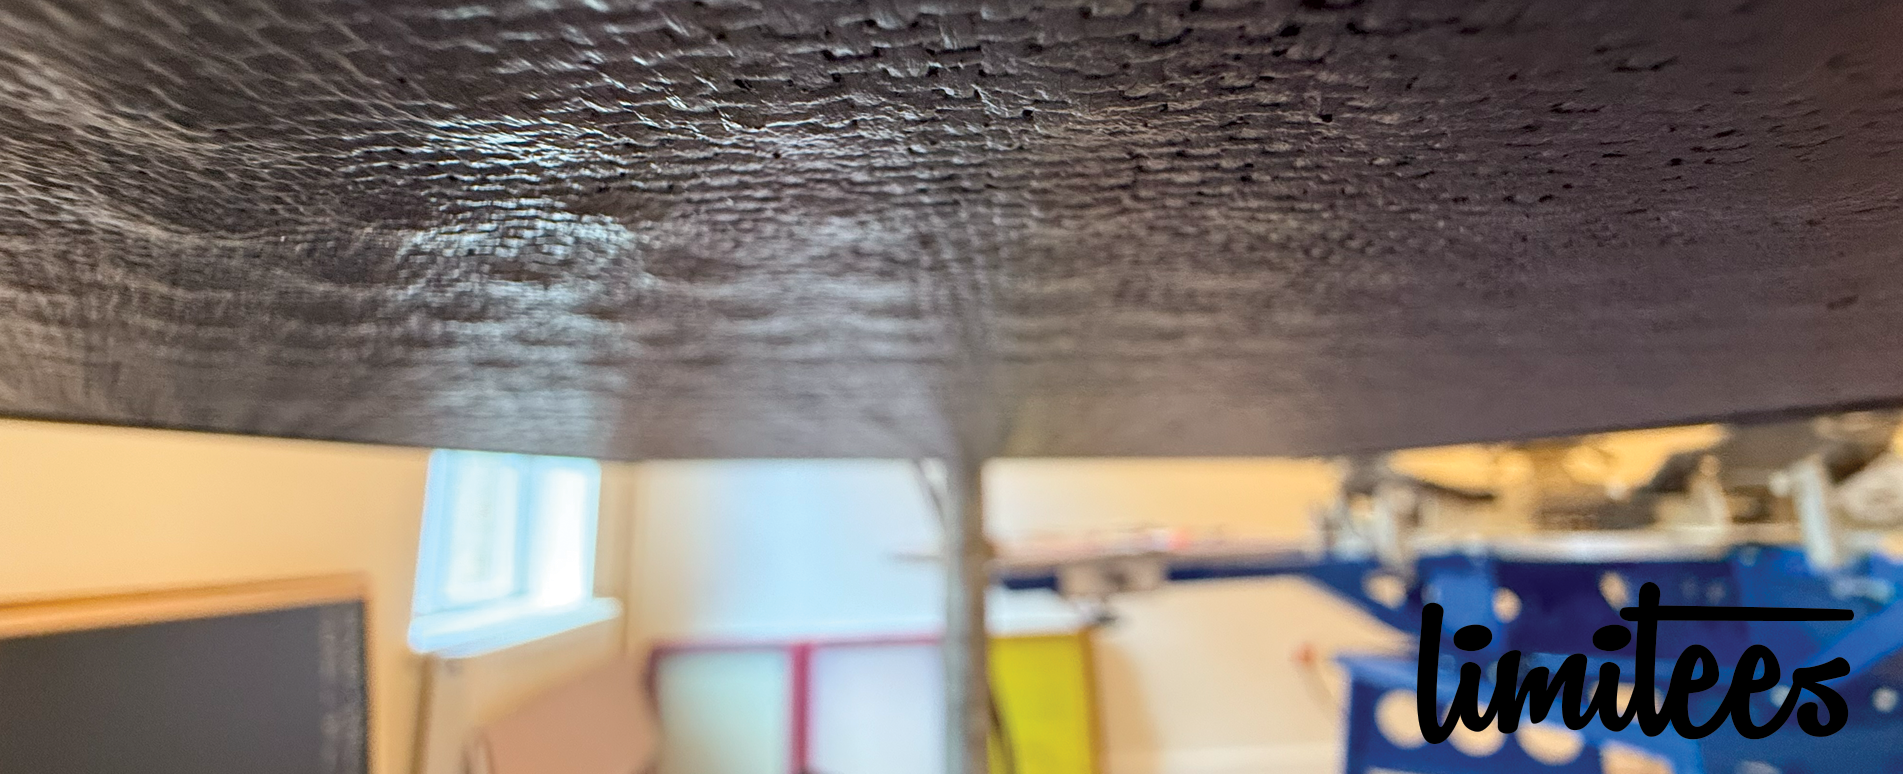
I’m thrilled to share an exciting update about my screen printing business! I’ve just acquired a WPS 700 Tunnel Dryer, and it’s already looking like a game changer. Although it’s not yet fully set up and running, I wanted to take a moment to talk about why I decided to invest in this piece of equipment and what’s next for getting it up and running.
Why the WPS 700 Tunnel Dryer?
The decision to add a tunnel dryer to my setup was something I’ve been thinking about for a while. In the past, I’ve been using flash dryers and heat guns to cure my prints, but they have limitations, especially when it comes to high-volume prints or prints that require consistent, even heat. The WPS 700 Tunnel Dryer offers everything I need to improve the quality and efficiency of my curing process.
A tunnel dryer works by passing garments through a heated chamber on a conveyor belt, allowing the print to be cured more evenly and at a faster pace than with manual methods. This is going to be especially helpful for me when I’m working with water-based inks, which need a controlled and consistent heat source to fully cure.
Setting Up the WPS 700: Converting to Three-Phase Power
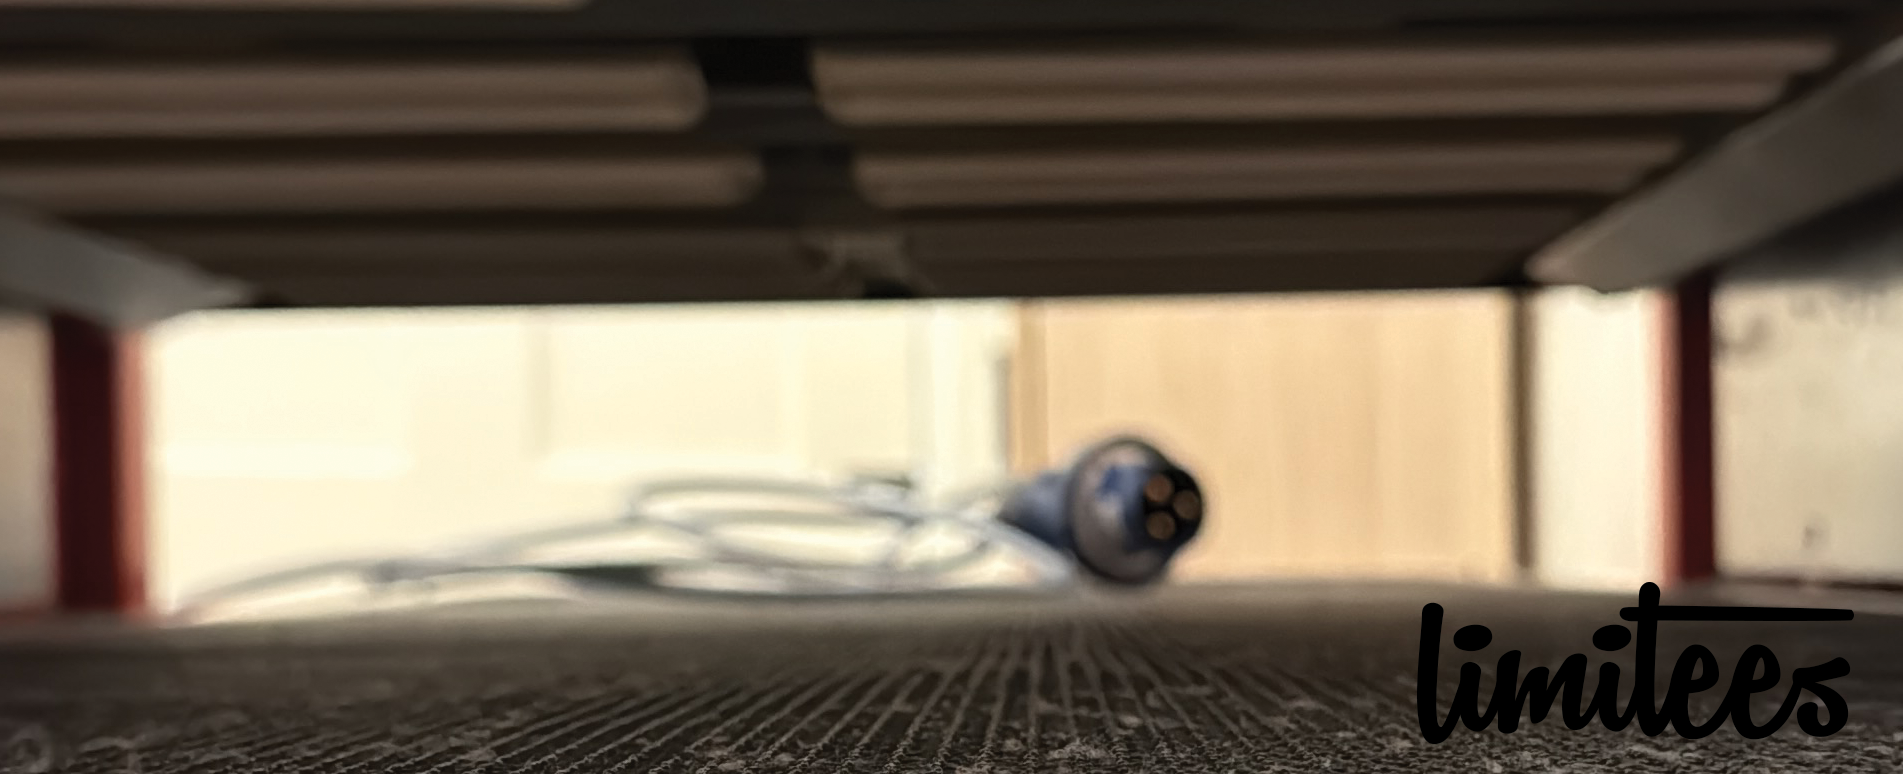
While I’m excited about having the WPS 700 Tunnel Dryer in my shop, there’s still some work to be done before it’s fully operational. The dryer is currently set up to run on single-phase power, but to get the most out of it, I need to convert it to three-phase power.
For those who might not be familiar, three-phase power is a more efficient electrical system that provides a more stable and higher output of power, which is essential for running heavy-duty equipment like the WPS 700. The tunnel dryer requires the consistency and power that three-phase provides in order to function at full capacity. Converting to three-phase isn’t a huge task, but it will require some time and technical expertise to ensure that the wiring and electrical setup are correctly configured.
Why This Will Be Worth It
Once the WPS 700 Tunnel Dryer is up and running with the proper power supply, it’s going to drastically improve my production capabilities. I’ll be able to:
- Cure prints more efficiently: With a consistent heat source, I can cure multiple prints at once and reduce drying time.
- Increase production: The conveyor belt system will allow me to run large batches of prints without having to babysit the curing process. This will be particularly helpful for high-volume orders.
- Ensure consistent, high-quality prints: With a tunnel dryer, the curing process will be much more consistent, ensuring that every print is properly cured and durable. This is especially important for ensuring long-lasting prints that can withstand repeated washes.
What’s Next?
Right now, I’m in the process of getting the three-phase conversion sorted out. It’s a step that’s necessary to ensure the tunnel dryer runs properly, but it’ll be worth the time and effort to set it up correctly. I’m excited to see how much smoother the printing process will be once the WPS 700 is fully operational.
In the meantime, I’ll continue working with my other equipment, but I can already picture how much faster and more efficient things will be with this addition. The WPS 700 is definitely going to be a big boost for the business, and I can’t wait to get it up and running.
Stay Tuned for Updates!
I’ll be sharing more updates as I get the WPS 700 Tunnel Dryer set up and start using it for real print runs. I’ll also provide a closer look at how it works once everything is running smoothly, and the full benefits of having this piece of equipment in the shop are clear.
Have you ever worked with a tunnel dryer? Or maybe you’ve gone through the process of converting equipment to three-phase? I’d love to hear your experiences and any tips you might have!
Related Posts