At Limitees, we believe that every T-shirt we print is more than just clothing it's…
Transparencies in Screen Printing
When I first started screen printing, one of the things that took me a while to fully grasp was the importance of transparencies and colour separation. At first, I assumed you could just print a full design onto a screen and somehow get all the colours to appear at once. But screen printing doesn’t work like that—each colour in a design needs its own layer, its own transparency, and its own screen.
Here’s why.
What Are Transparencies in Screen Printing?
A transparency is a clear film with a black ink design printed onto it. This film is used to block out light when exposing a screen with emulsion. Where the black ink appears, the emulsion doesn’t harden, allowing ink to pass through once the screen is washed out.
But here’s the key part—because screen printing applies one colour at a time, you need to separate the design into individual layers. Each layer represents one specific colour, meaning each colour has its own transparency and screen.

Why Does Each Colour Need Its Own Screen?
When you look at a multi-colour design, it’s easy to think of it as one complete image. But in screen printing, you’re not printing a full-colour image all at once like an inkjet printer. Instead, each colour is applied in layers—one at a time.
Here’s why every colour needs its own screen:
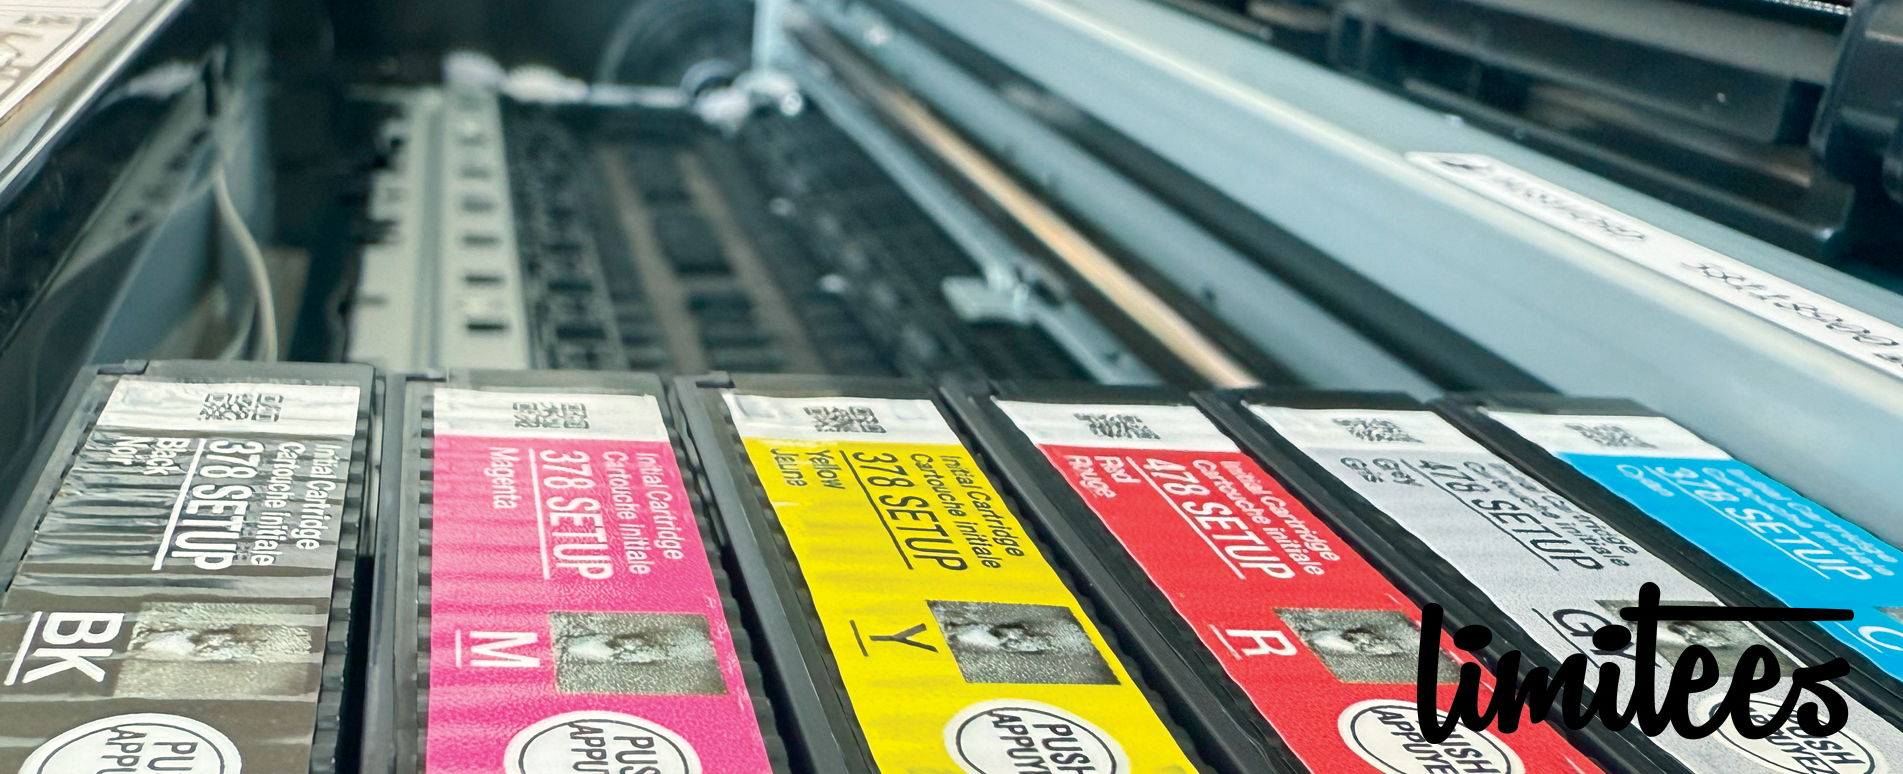
1. Screen Printing Uses Spot Colours, Not Blends
Unlike digital printing, screen printing doesn’t mix colours as it prints. If your design has red, blue, and yellow, those colours have to be printed separately using individual screens.
2. Overlapping Colours Create Problems
If you tried to print all colours at once through one screen, they’d mix and overlap, leading to unwanted colours and blurry designs. By using separate screens, each colour can be placed exactly where it needs to go.
3. Proper Registration Depends on Separate Layers
Each colour needs to be printed in the correct spot so that everything lines up properly. By separating colours into layers and printing them one by one, you can adjust alignment (micro-registration) to ensure a perfect print.
How Colour Separation Works
When preparing artwork for screen printing, the design is broken down into separate layers, each representing a single colour.
Here’s a simple example:
A design has red, yellow, and blue elements
You print three separate transparencies, one for each colour
You expose three separate screens, one for each transparency
You print each colour one at a time, carefully lining them up
By doing this, you build the final image one colour at a time.
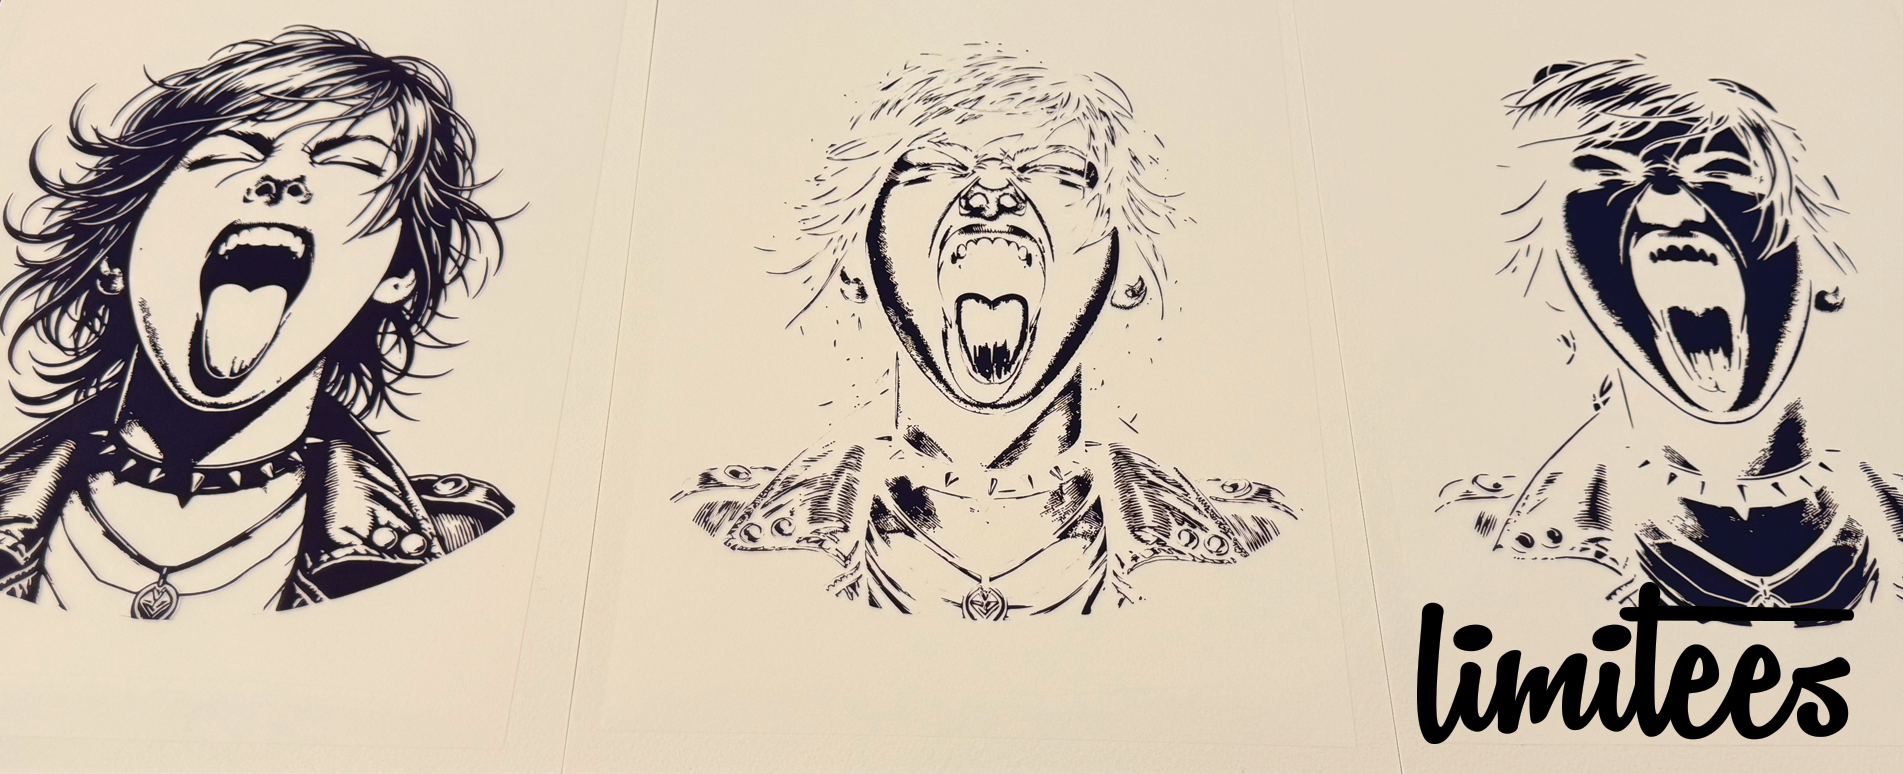
Testing Registration with Transparencies
One of the first things I did to learn about registration was a simple alignment test using transparencies. I printed a single colour layer onto cotton paper, then used tape to cover that layer before printing the next colour on top. This helped me check if everything was lining up properly before moving to fabric.
Tip: You can also tape your transparencies over a test print to check alignment before committing to ink.
Final Thoughts
Understanding why each colour needs its own transparency and screen is a game-changer in screen printing. It ensures that colours stay crisp, registration stays accurate, and the final print looks professional.
If you’re just getting started, my advice is to practice separating designs and testing alignment before printing on garments. It takes time to master, but once you get the hang of it, you’ll see how every layer comes together to form a perfect final print!
Have you ever struggled with colour separation or registration? Let me know in the comments—I’d love to hear your experiences!
Related Posts